2017 was a very productive year for my ham radio hobby. At the beginning of the year I set the following goals:
- Teach a Technician class
- 265 confirmed countries
- 1250 Challenge band-points
- Successful ARISS contact at BHHS
- Complete 1 QRP Kit
- Convert from HRD to DXLABS
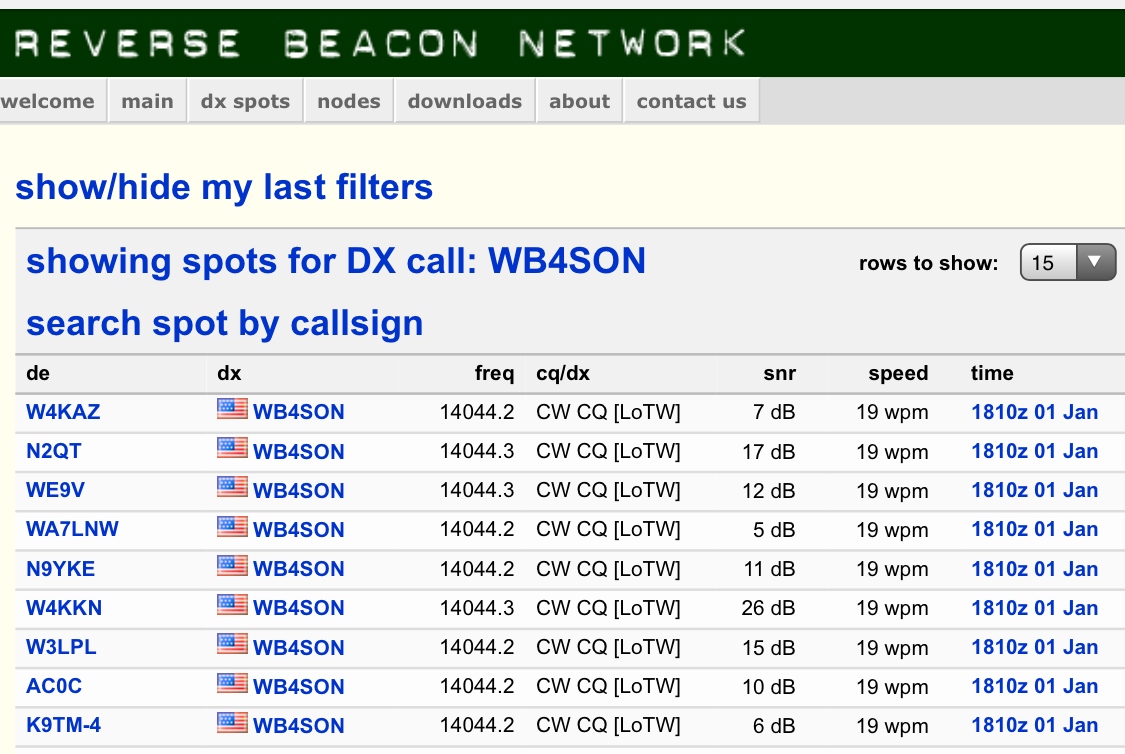
The only goal that wasn’t competed was 265 confirmed countries — I only managed 262. It’s going to be slow going from now on.
I taught a very large (for me) Technician Class in Oct/Nov. I had over 30 students, 26 eventually took the exam and passed. 23 techs and 3 generals. 19 of them have joined my club, so it was a good year for NCRC as well.
Speaking of NCRC and classes, I was presented with an Educational Award at the end of the year. While I don’t have an exact number, I’ve taught somewhere around 10% of all the hams in the state of RI at this point, and am marching on (my next set of classes is scheduled for March 20). The award has established a scholarship fund in my name. Needless to say, I was VERY touched by the recognition.
The ARISS event at BHHS was successful, although as it turns out I had nothing to do with it (Mike K1NPT did a fantastic job). It was changed from a direct contact to a Telebridge contact via an Italian ham, so no RF was required here in RI. That said, I did join the ARISS organization as a Mentor, and have been coaching the Museum of Science and Technology in Syracuse NY through their first ARISS proposal and contact, so I’ll count that as a check mark too.
I did convert from HRD to DXLABS and started using the latter for a few months. However, eventually I went back to HRD which just seems to work better for my style of operation. JTALERT relaxed the HRD ban a bit, and a few versions have supported logging which is one of the key reasons I wanted to switch.
I accomplished a few things of note during the year as well. I worked seven new (to me) Amateur Satellites (XW-2A,B,C,D,F, CAS-4A, and AO-91). I rebuilt a HP3225A synthesizer that will allow me to participate in Frequency Measurement Tests (FMT) in the future. I had confirmed contacts every month of the year, and I continued my five year streak of publishing at least one blog entry every month.
My goals for 2018 are:
- Teach a Technician Class
- 265 Confirmed Countries in DXCC
- 1,275 Challenge Band-Points
- 160-meter 40 DXCC AND 45 WAS
- Compete in a FMT
- 3D Print an electronics project case
Happy New Year!!!