
At a recent breakfast with fellow hams, Ted, W1GRI, showed me his latest gadget — A Raspberry Pi (RPi). This is a small computer with ARM CPU, 512K of RAM, a SD card for flash memory, two USB ports, a HDMI video/audio port, an Ethernet connection, and composite video/audio output. His unit was enclosed in a small clear plastic box, about 4″ x 2″x 1″, and he waxed poetic about how it could run Linux and was a pretty full-featured computer. Not bad for something that sells for under $40.
My ham shack is underground (named “The Wombat Room” after the Australian Wombat) so Atomic Clocks are pretty useless as the WWVB signal won’t penetrate below grade. However, I am obsessed with accurate time, and have considered building a clock that would display both UTC and EST/EDT but use NTP time services for keeping accurate time. Until the Raspberry Pi came along, other development boards that include an Ethernet connector were large (>4×6 inches) and expensive (>$150). Then some sort of display and case would have to be hacked together.
But as I investigated the Raspberry Pi, it because clear that this little gem was ideal for accomplishing what I had in mind, especially since there was an entire ecosphere devoted to supporting RPi users. Sure enough, a company called Adafruit was selling a “Pi Plate” that is designed to plug onto the top of the RPi. My particular plate sells for <$20 with a blue LCD and allows the user to attach a display with a few push buttons to the RPi
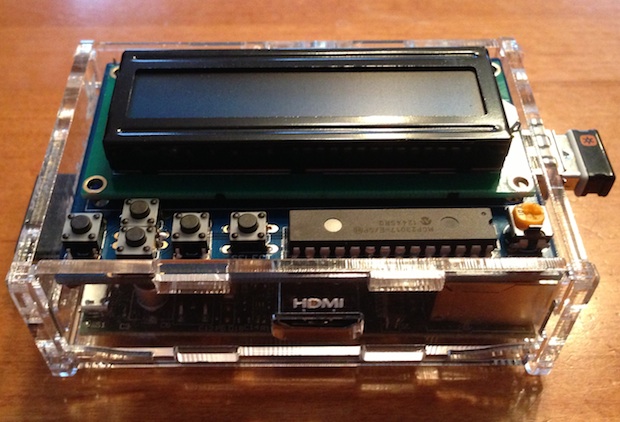
Raspberry Pi with LCD Plate (box, RPi and Plate from Adafruit.com)
Today I put the LCD Plate together (some minor soldering required), hooked it up to the Raspberry Pi (in place of the clear plastic box cover), downloaded the various software modules needed to support I2C communication to the plate, plus some test Python code, and I was up and running with a working display.
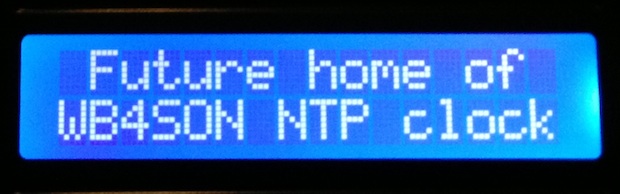
Test of Display Running on Raspberry Pi LCD Plate
Since the RPi doesn’t have a real-time clock (at least not a battery operated one), it relies on NTP time services as part of the Linux OS to keep accurate time. PERFECTO. All I need to do is write a Python program that reads the system clock and spits it out to the LCD at the beginning of each second. Once the program is debugged, I can set the RPi to load the code on power up and execute automatically. At that point the traditional monitor/keyboard/mouse goes away. All that is needed is a power supply and Ethernet connection, which could either be wired or WiFi through a USB dongle.
Total cost for the RPi, plastic box, LCD plate and power supply is less than $75. Add another $13 for a WiFi Dongle if desired.