
After solving the display rotation issue, I was anxious to get rid of the USB based keyboard and mouse, and move onto Bluetooth based devices. I had followed a RPi blog instruction to update various parts of the OS, and install a GUI-based tool called Bluez to manage the process. Unfortunately that was HORRIBLE advice. Bluez is NOT stable at the moment and prevented every Bluetooth keyboard/mouse I had from pairing. Even trying to remove Bluez turned into a nightmare, so I decided to start from scratch with a new NOOBS image.
The latest NOOBS (1.9) has support for the LCD, Bluetooth, and WiFi support built-in. No changes were necessary to get it to support the LCD display, so it was possible to boot right into the GUI and setup the WiFi from there. The line “lcd_rotate=2” still needs to be added to \boot\config.txt to rotate the LCD to work with cases that are currently shipping (IMPORTANT NOTE: display_rotate=2 will NOT correct the touchscreen — use lcd_rotate=2 for things to work properly).
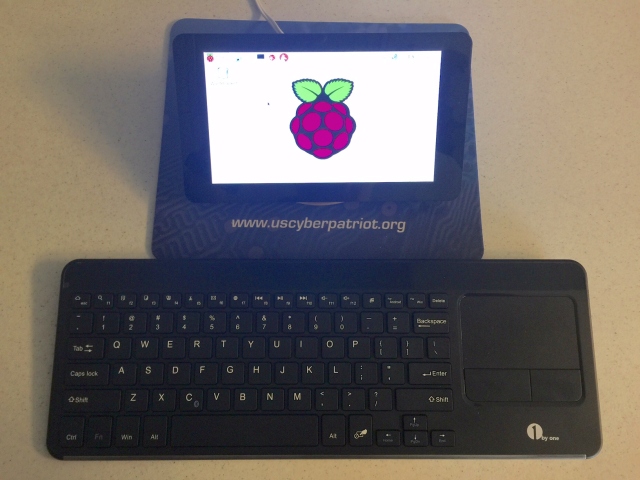
To setup Bluetooth without the aid of a GUI, one needs open a terminal session and type “bluetoothctl”. That will open the configuration utility. When I did this, I had to enter the “power on” and “agent on” commands, followed by “scan on” to discover my keyboard (a 1byone keyboard with touchpad that can be found for $24 on Amazon).
After turning the keyboard on, and pressing the <FN><C> keys to start the keyboard discovery process running, the 1byone device showed up in the bluetoothctl tool, revealing its MAC address. Jot that address down and do the following:
Enter “pair xx:xx:xx:xx:xx:xx” to pair the device. This will popup a passcode, which must be typed on the keyboard (followed by the <Enter> key). You should see a report indicating a successful pair. If you don’t try things again (I had to do it twice, might have mistyped the passcode for all I know).
After the device pairs, enter the “trust xx:xx:xx:xx:xx:xx” command. That enters that MAC address into a trusted list for future connections.
In theory after trusting the device, a “connect xx:xx:xx:xx:xx:xx” command might be needed, but mine remained connected after trusting.
Exit the bluetoothctl configuration utility and enjoy the wireless keyboard and mouse!
Note: you will need to cycle power on the keyboard every time you reboot the RPi, otherwise the keyboard and trackpad don’t seem to reconnect with the RPi.
As a FYI, I found that my RPi 3 pulls 670 mA from a 5.1 power supply when running Bluetooth, WiFi and the LCD. Also, a 8GB microSD will have about 2.4 GB left.